Abdul Alhazred

Abdul-Comp

An uncharacteristically quick character study. Concentrating, just as before, less on detailing and more on the overall rhythms and forms. Inspired by a turtle skull. There are countless ways to achieve a design and, although I’m pretty handy with Photoshop, I normally depend on draughtsmanship rather than the collagey approach here.

Abdul-Turn

By using blend modes in Photoshop you can get some unexpected design options, and It’s an incredibly handy way to get something down really quickly.

turtlehead1

b0d20d4624518a9495499c88bd602cbb

Morning Render

Poppet4

My normal pace of work is so excruciatingly slow that I Just wanted to see how fast I could knock something together from scratch. The answer in this case is four hours, with another hour for rendering, thirty minutes for Photoshop and about five minutes for this post.

Poppet Zbrush Renders

‘Pachee

I wanted to concept and model a character from scratch, ending up with both a high resolution model and a LoPoly engine-friendly mesh. I learned more working on this piece than with any other (more on that below). There are clearly some Lucasfilm shenanigans afoot, and on the design side, its becoming obvious that I get little pleasure from the over designed, hyper-fractalised approach.

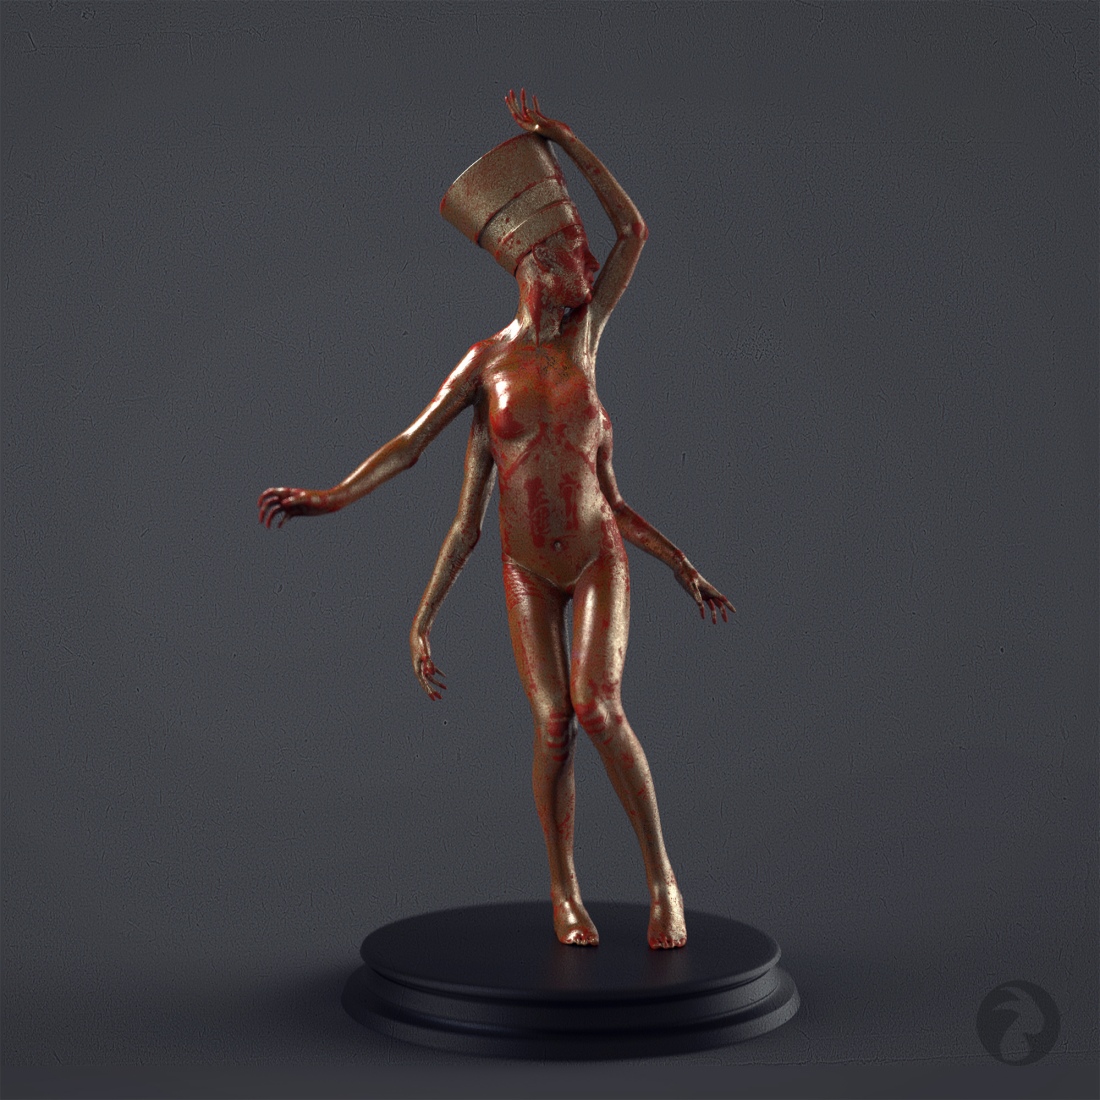
I started off with the basic shape of the head gear, and it went through some iterations as more organic and cicada-like before I reminded myself to stick to a design which best for an overall concept rather than pursuing an infinity of designs for each asset. This is a very difficult balancing act – to explore options and variants while remaining true to some vague spirit of an initial concept. Of course this is becomes redundant when working to someone else’s design brief, but the line is always there at smaller scales.

So this is subdivisional modelling. This is the technique I’ve been using up to now. Never having (digitally) modelled traditionally, (either polymodelling or box modelling), there are certain factors I’ve never had to consider before. I’ve always worked from a LoPoly mesh upwards, always with the intention that the lowest mesh is somehow untouchable, that it is definitely bound the high resolution work. As a result of this, I’ve been considering the  geometry needs of a perceived “game engine asset” as a sort of baggage as I worked, failing to grasp that , although the base mesh which I start off with can often be used as the geometry of a game engine asset, this is never the case with more complex meshes (such as this one). As usual, this is going to sound incredibly obvious to some, but I have to say that it’s massively liberating for me. I needn’t keep my base meshes half as simple as I have been doing, for the simple reason that the process of sculpting is and should be a completely separate pursuit to the process of making a sleek, memory-efficient asset. Having said that, working within confines is always rewarding by its nature, and I wouldn’t have learned half as much if I hadn’t found out the difficult way. I think.

Finally, these are the six layouts I used for the finished mesh, and some of the maps employed. I had to make two variants for each tile, as I was working on a LoPoly and a High resolution mesh at the same time. Let’s just say that its an interesting experience learning about object space, tangent space and smoothing groups while juggling 6 mesh layouts (with the software constantly flipping them for its own undisclosed reasons) with no grasp on when a normal map or geometry is best employed and, if changes are required, “how far back along the pipeline can I afford to make those tweaks while destroying as small  an amount of work as possible?” – all while using new softwarez on a rig with Less-Than-Sufficient steam power which sometimes decides that its had enough and packs it in just as you’re stupidly passing the two-hour  mark since your last save.

“I’m Learnding”

-R. Wiggum

Sphynx

Here I wanted to integrate the process of subdivisional sculpting into a bigger pipeline involving what would traditionally be termed, I suppose, modelling. It may take an hour to throw together a maquette in ZBrush, but interpreting that model for an engine is a long and complicated marathon.

maquette

Sphynx (Maquette). About sixty minutes’ work & by far the most enjoyable part.

I’d never modelled architecture before, and felt I needed to familiarise myself with the kind of pipeline I would need to employ to do such a thing. It immediately struck me how tied to subdivisional modelling I’ve been, and how hard structures/surfaces are the fountainhead of 3d modelling: There are countless vestigial terms and practices that just seem outdated (It all just seems so retro), but many more that immediately filled gaps in my knowledge. The primary one of these would be the application of smoothing groups, and how innovatively they use face normals. Of course, with Low-Poly  modelling the wrangling of normals to produce the all-important normal map becomes crucial. This fact will escape a sculptor who, like me, has concentrated on a subdivisional workflow, where the production of this type of map is/can be a simple matter of hitting “bake normal map” at the end of a sculpt.

3dsmaxviewport

Sphynx: Realising that Maya/Max is your base of operations

It is a massively demanding test of RAM simply because there can be five or six software packages on the go (along with a browser window or two for consultation). I need to convert a world-space normal map to a tangent-space normal map, which will require the outputting of a certain subdivision-level, but oh yes, I need smoothing groups so that means exporting from Max…

web.jpg

Suddenly I’m very familiar with my UVs

It can all get massively complicated and frustrating, so each stage of production needs to be locked down before moving on. This rigidity is being eroded slightly by new nondestructive workflows – the allegorithmic softwarez are so impressive – but there are many actions that simply demand an unforgiving level of completion before moving on.

Unless you enjoy doing the same mundane job three or four times this kind of thing can ruin your day.

sphynx-523pt


Babba

Tribesman

In the same vein as a previous image (shoebill) I was going for the vaguely malevolent here. Certain African countries have histories of costume, both at times of war and peace. The First Liberian Civil War saw a rise in the practice of wearing wigs, gowns and other costumes amongst its child soldiers. Nigeria’s urban Gadawan Kura, captured by Pieter Hugo in his famous photoseries, have this weird threatening menace – the Africa Wild Dogs they have on chains have a decidedly brutal look to them in the urban environment. Also, the Mursi of Ethiopia have a unique adornment tradition. A pastoralist ethnic group, they are the ones with lip-plates, rope braids, metal cinches and animal horns hanging from their heads. If you do a quick Google image search, you’ll see them wielding AK-47s to ward off predators and bandits.

It might be culturally naiive to say do, but the forms of culture that the part-pastoralist, part-urbanised societies of African countries employ and display sure offer striking juxtapositions.

babyface_turn

Applied Tesselation

These were exercises in combining animal forms with geometric forms. I used to work with tesselation in sculpture (Escher-like tiling/combining a form with itself). As well as finding it fascinating to make a form that fits into itself to make a “whole”, its pretty satisfying to be able to multiply a workload. Working digitally, it definitely involves two different approaches between the fluidity of ZBrush and the precision of 3ds Max.Ramhead-makin-gif.gif

To make the four heads I had to take the appropriate part of the mesh into ZB. I sculpted onto this, mirrored it, reprojected details, combined these two meshes; multiplied and turned on 90 degree axis. I used these four detailed heads to project onto the imported cup mesh.

I would be very interested to know if there’s another way to do this.
ramgoblet_turn_ceramic

OLYMPUS DIGITAL CAMERA

This is an example of the tesselation I used to employ in sculpture. There are many, many ways to have a form intersect with itself. The simplest one is a square tiling plan. The one on the right is quite a complicated triangular plan involving six tiles. This could, of course, be tiled an infinite number of times.


Occultium

cavtextured3

This piece is me trying to integrate hard surface forms with organic forms in the same mesh. Ornamental, man-made forms can be far more complicated than organic forms on their own – there was a lot of “negative  space” in this piece, and it was a good introduction to more complex base meshes. Managing these can be a problem, but it wouldn’t be as problematic if my roots were in “3D Generalist” software. It’s just a matter of learning the knack of hiding and unhiding the mesh as you work on it. The web of lines can get incredibly complicated.

spiderstaffgif1untitled-2

This is my initial plan, with some spontaneous thoughts on balance in sculpture. These are the kinds of basic, plain guidelines I’ve tried to locate in books, but it seems to be difficult to find unadorned information. Yes, I’ve obviously read countless books on the history of sculpture and painting, but these tend to go on about biography, context etc. For instance, nowhere have I read that an image or sculpture should read as well (in terms of pure form) on its head as it does the right way up. Maybe this is just an oversight endemic to a fine art education. Contemporary illustrators are a good source for this kind of information because they don’t treat it like some magic “tradesman’s secret”.   “Imaginative Realism” by James Gurney is a good example of this kind of writing, but even books like this don’t simplify the information enough. There are very simple rules, for instance, that can be followed to successfully “marry forms” like I’m doing here. But you rarely get a designer talking unpretentiously and intelligibly about the nuts and bolts of his/her trade.

spiderstaff-comp2

spiderstaff-screenshot


Hirsch

hirschturntable

“Hirsch”: a model I worked on in August. Vaguely inspired by Takeya, I thought it would be interesting to “re-contextualise” a highway patrol-style officer into some kind of pan-galactic law enforcer, complete with “vibro-sword” (a little bit future-retro, something we  don’t see enough of these days, I think). Obviously there’s a bit of anime in there. I didn’t have  a colour scheme worked out before sculpting, and, as usual, I left it until the last minute. I’m not sure if this is always the wrong way to go about things though, as my head is a little more open to thinking laterally when it comes to brainstorming. I was going to go with out-and-out retro number 3 (below), or a sandy, WWII RAF flight-suit option 6, but eventually I went with number 5 – a plainer Black&White ensemble. Going with a relatively boring colour scheme lets you explore textures and forms a bit more, anyway (there’s no better way to hide a boring mode than by loading it with obtrusive colour).

hirsch-colour

Below you’ll find a production video and some more turntables.


Forearmed

4Armed4-2000

This is a model from a while back, having just discovered metal shaders and labels in the renderer. I’ve done some gilding in my time, and let’s just say that, in terms of time, the digital process trumps it. The warm glow of gold can’t really be photographed or rendered, but developments in the simulation of materials their interactions with light are impressively close to reproducing it.