The Story Of The Eye

Returning to Physics -based rendering Having been away “real time” rendering for a little while now, I decided to use a more complicated eye than the “textured ball” method I’ve been using for some time. Eyes are clearly pretty important to a character, and the basic asset can be recycled as the need arises, so its a worthwhile endeavour to commit a few hours to coming up with something that can breathe a little more life into a face.

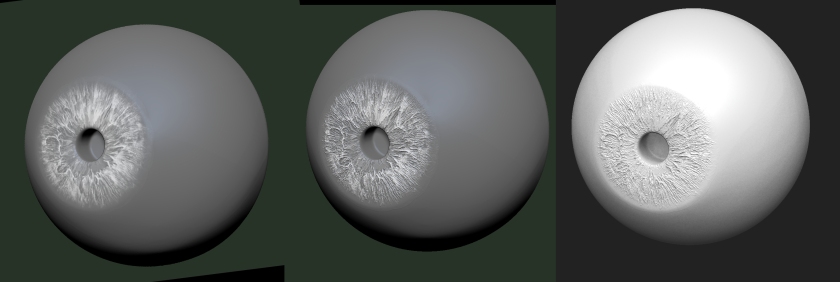
Cutting to the chase, Rather that straight-up sculpt an iris from scratch (which would still be relatively easy to do by sculpting with radial symmetry on), I decided to texture the model and use the colour information to deform accordingly.

Screen-Edited Eye

Having quickly UVed my model in ZB, I incorporated a web-acquired iris image in Photoshop. There is the tricky question of iris size to contend with here – there was a bit of painting involved to get the desired pupil diameter (this is not for a human character). But aside from this, after a few colour-and-level-adjustment layers and masks I exported two files: a straight-up diffuse texture and a carefully-adjusted greyscale image to be used as a deforming “mask”.
ZBrush Document

I imported this second image as an alpha and then after a “mask by alpha” I first blurred the mask and then “deformation>inflate”-ed it to get a little gentle topographical relief. I re-masked with the same alpha and deformed again to get a little more definition.

EyeAnimation

And that’s pretty much it – all you need for this is two models: a) The body of the eye with the iris and b) a “sclerotic orb” and convex cornea to give the iris that defracted look. A few tweaks of the materials in your renderer should give you some pretty powerful results.

What I like about this approach is its simplicity: You’re ultimately using an easily-acquired image file to deform a very simple shape.

Practical Skull

ANIIMATION

Here I worked back from a high resolution asset to a low resolution, practical skull model.  a lot of careful modelling and projection required, as you’re trying to capture the profile as economically as possible from a detailed, organic form.

LoRes


Renderiffic

SphynxSplit

A bit of fun blending two renders. I was testing normal mapping in KS using my sphynx model : you can see the polygons / simplicity of the geo in the model’s profile. In blending the two, the diagonal masking stripes needed to be thick enough to see enough of each image to easily recognise certain characteristics. To separate each image a little more I used a colour balance adjustment to each (cool for the chrome; warm for the glass).

Ultimately a decent poster for a club night…

A Quick Boolean

Render1.jpg

I’m working on ways to get structural, architectural geometry to intersect with organic forms. Instinctively I was going to do this by hand (!) in ZB, but thought I’d give Max a go. The power of this software continues to amaze me. After figuring out that the “ProBoolean” operation was what I was after, it took all of five seconds for two meshes to merge, with a crisp, planar loop of vertices at the point of union. On import back into ZB, the software automatically tesselates the plane into renderable geometry.  Satisfaction.


Real Time

SketchFaButton

Having previously modelled Occultium only as a keyshot-worthy HiRez model, I thought I had better start to try and put something through a Physically-Based-Rendering workflow. I love how Sketchfab has gone and solved a great many of the problems with displaying 3D content online. The more I use Substance Painter, the more powerful it seems to become, and between the two I know that there is a generation of 3d Designers coming up who are going to be very, very spoiled indeed.

Organic Pattern

Prep-Terror

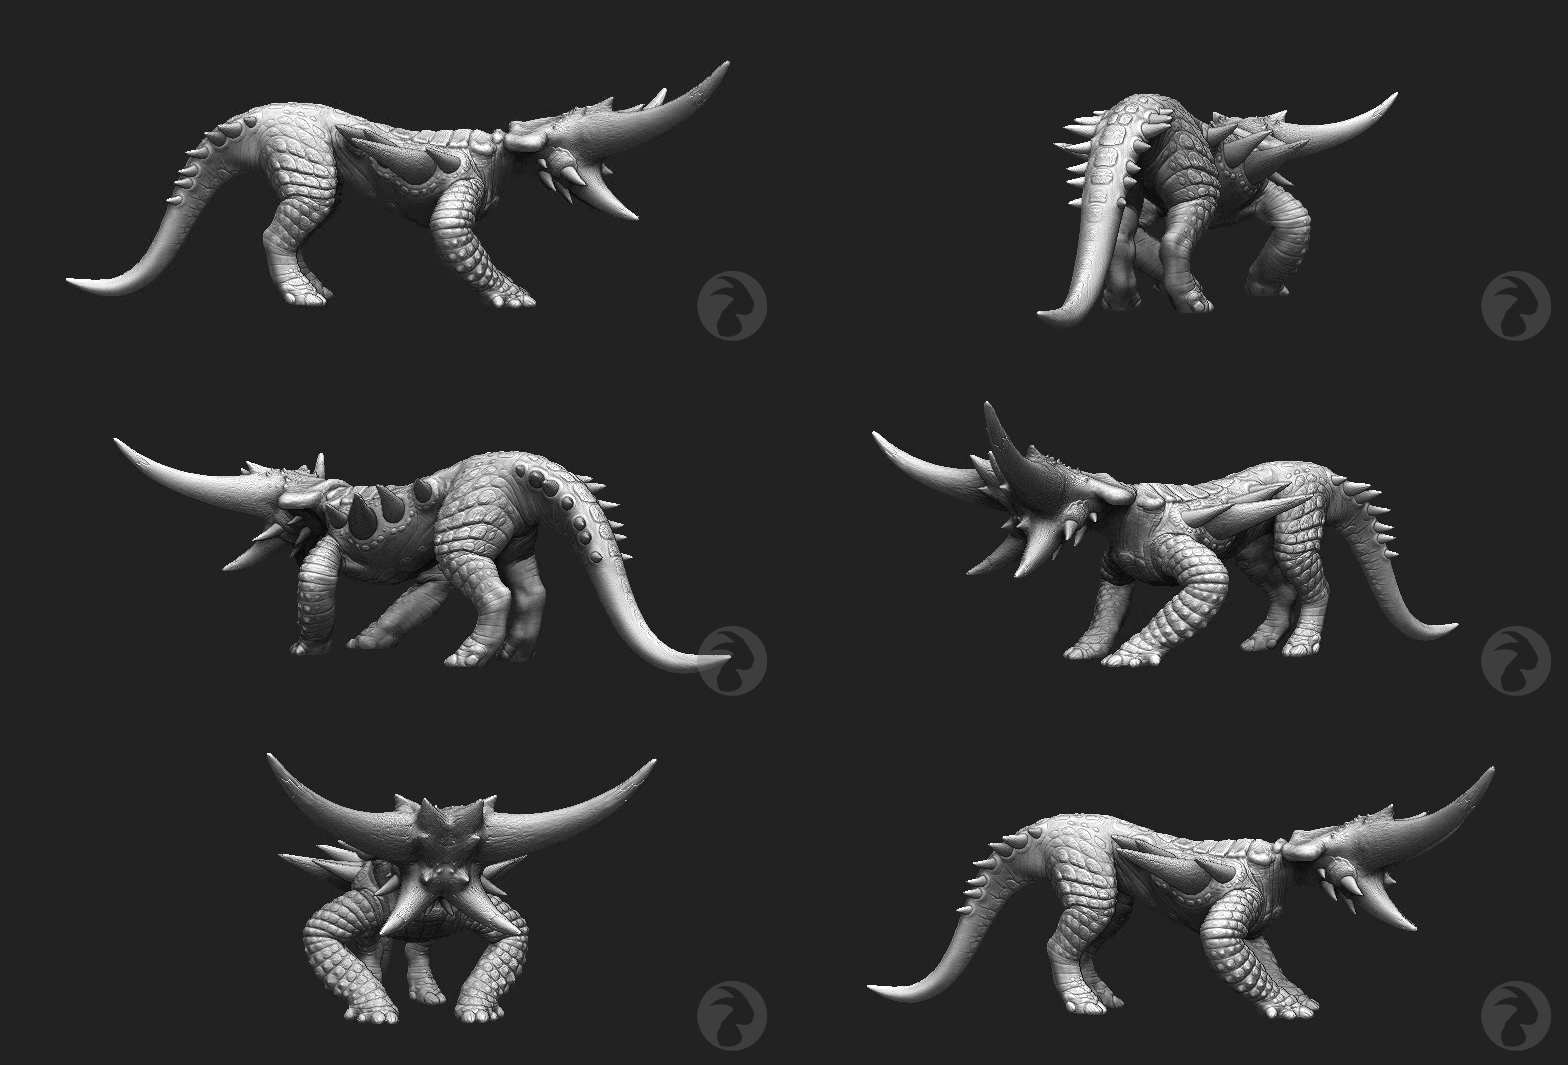
This is a tricky one. I’ve looked at many tutorials on the subject of creature design over the years, but I’ve never encountered one which even touched on the concept of composition in organic forms. What makes one form/series complement another to form a harmonious whole? We can leave out colour, as colour schemes can only be built upon form. Yes, there are primary, secondary and tertiary forms, but there can be more than one series of each of these, a fact which complicates the issue no end.

Organic sculpting2

The spikes are the primaries here, of course. They kind of half-segue into the back ridges, which are also very important. Normally it is easy to create a reticulated pattern on a field and to have it read as organic, as there are many ways to introduce variety – depth, size, shape etc. The problem with the scute arrangement of an armadillo is that the folds of skin which contain it are regular, creating a kind of grid pattern. A grid pattern must be handled with exteme care if it is to convey an organic substance. Even speaking of composition alone – it is more than a field of information which simple wrinkles or pores are, and taken as a whole could be seen as another primary form.

mAKINnANOMESH sCUTES4

This is a breakdown of my attempt to keep fluid and changeable as many elements as possible for as long as possible. Area, angle (pitch+yaw), spacing, shape (complexity+simplicity) and height are all variables it is difficult to juggle in two dimensions (which the surface of a model can be seen as). For this reason I used separate models for each scute in areas where I needed maximum control. To minimise confusion each is a separate polygroup which can be manipulated after generation by turning on automasking and transposing accordingly.

7

terror

Morning Render

Poppet4

My normal pace of work is so excruciatingly slow that I Just wanted to see how fast I could knock something together from scratch. The answer in this case is four hours, with another hour for rendering, thirty minutes for Photoshop and about five minutes for this post.

Poppet Zbrush Renders

Tactical Vs. Rank-And-File

kendo

With “Shinai” I wanted to ignore the practical requirements of the model, and to just enjoy the design process. No mesh streamlining, no UV-layout fretting – just design concerns. I think it was the simple technical discovery that two models can have completely different “heritage” (mesh structure, Polycount etc) and one (in fact, more than one!) and can still be used to create a Normal Map for the other.

Modelling and concepting are two different pursuits, and this model lies somewhere in between. I haven’t used the female form much, and wanted something sleek, feminine, and a little (!) alien.

ref-Kendoconcept

 I started off with these sketches knowing only that I wanted to retain the echo of the cowl in the crotch area – and that there would be little detailing. It would be a simple design in that it would be defined by wide areas of texture and a few graphics, rather than a field of details spilling into one another, which is the way I normally work.

ref-Kendoconcept2

I adapted a previous model for the character, finalised the peripherals and arrived at some colour scheme choices. It is probably crucial to designate areas for colour hierarchy in the earliest stages of a design, so that you can just slot them in at this stage. This can mean quick assignments in 3d software or the handy copy/paste/overlay approach in Photoshop.  I had planned to go with something like  the “harlequin” scheme on the right from the very beginning, but I felt that the red-headed design third from the left offered both a few curious design problems and also an opportunity for some eventual subtle textural hints,so that’s the one I went with. Clearly its a different animal from the other design options – maybe an “elite”, “tactical” design as opposed to the others, which have a “rank-and-file” essence to them.

I wanted something sleek and a little over-designed for the peripheral assets. I saw these as curvy, porcelain-like weaponry that would complement the swoops of the uniform panelling.

zbrush-document3

kendoturn1